Resources

20/07/2014

Delicious - Bundles and Tagging


This is a guest post by my teaching partner Chantelle Davies.  Together we are exploring the use of 21st Century Technology in the classroom.  Thanks Chantelle, for exploring the use of Delicous within our school setting.


delicious
Click for photo source.
For about a year now I have been using Evernote as a bookmarking and catalog tool.  Recently Ray and I start using Delicious as another bookmarking tool.  I thought maybe this would have a separate use in addition to using Evernote.

Because Delicious catalogs the sites you save as a list, we thought this might make for a great thing to share on our classroom blogs.  I created an account that Ray and I could share that would be related to our curriculum.  This way we could keep a list of resources that students could use to enhance their learning.  I like that Delicious automatically suggest a variety of tags  that you could use from scanning the site you are saving; something that Evernote does not do.  It is also nice that you can bundle tags to pull up a group of items.  However, what wasn't ideal was that there was  no way of filtering the tags I didn't want to show.  For example, I was hoping that we could share with our students the bundle I created with tags; science, grade 5, structures, forces, student resource.  Unfortunately, a number of my sites tagged as "teacher resource"  also came up in the bundle because they also had tags such as science, forces, structures, grade 5, etc.  This could pose a challenge if you had bookmarked sites you wanted to save for your own reference only, such as lesson and test ideas.

I prefer Evernote for my personal cataloging because it will scan images for text as well as documents and webpages, and having to come up with my own tags is only a minor inconvenience.  I think I will continue to use Evernote for myself and I will continue to explore Delicious for student use.  Perhaps I'll have to limit it to only things I want students to have access to (too bad for the purposes of sharing resources with Ray).

Finally, the other challenge I had was finding a way to put a delicious widget onto my blog.  According to some forums I read, Wordpress once had a dedicated widget, but it appears they no longer do.  I can't find a way to get the HTML code for a widget from Delicious to add a text based widget.  Any suggestion are welcome.  For now, here is the link to our bundle of resources.


18/07/2014

Recorder of Learning - Using Photo Editing Apps

This is a guest post from my teaching partner Chantelle Davies. We are working collaboratively to explore tools and resources  and how we can make better use of them in the upcoming term.  The post is focuses on photo editing apps how to use them in the classroom.  With her expertise and knowledge I hope how to learn to use these apps in our "Recorders of Learning" task.  Thank you Chantelle for you expertise and leadership.

The past year I started to explore the world of classroom blogging for the first time.  Because I was still learning how to make the most of this great idea, while at the same time learning a new grade, and exploring other 21st Century tools for the first time; the blogging did not evolve into all that I had hoped it would be.  As you may know, my teaching partner, Ray Swinarchin and I are working through a collaboration of teacher inquiry process this year, revolving around how to better integrate 21st Century learning tool into our lessons.  I refuse to give up on blogging as I have come to believe it is such a valuable tool for learning and teaching. I am going to tackle it again and Ray has decided to join me for the ride.

Last year my blog became a great place for homework to be posted, for students to share summaries of what they were reading, and the occasional post (through shared writing lessons)  on a topic we were learning.  This year I WILL do more with it.  Since Ray and I want our blogs to encourage more interaction and collaboration among students, we are brainstorming ways to do that without creating a tremendous amount of extra work (meaning time) required by us.  Ray and I have come up with a few ideas, but for the purposes of today's post I'm gong to tell you about our plan for The Weekly Recorders of Learning.  

We will have two students be responsible for this role each week.  Together they will be given a few minutes each day to record a few notes to remind them of the key ideas that they learned that day.  We will also allow them to take photos to document lessons and their learning that they can then use at the end of the week to aid them in writing a blog post about what the class learned over the week. In order to make the most of these photos, we are going to teach them to use a few of the photo apps we have available to us on our class Ipads.
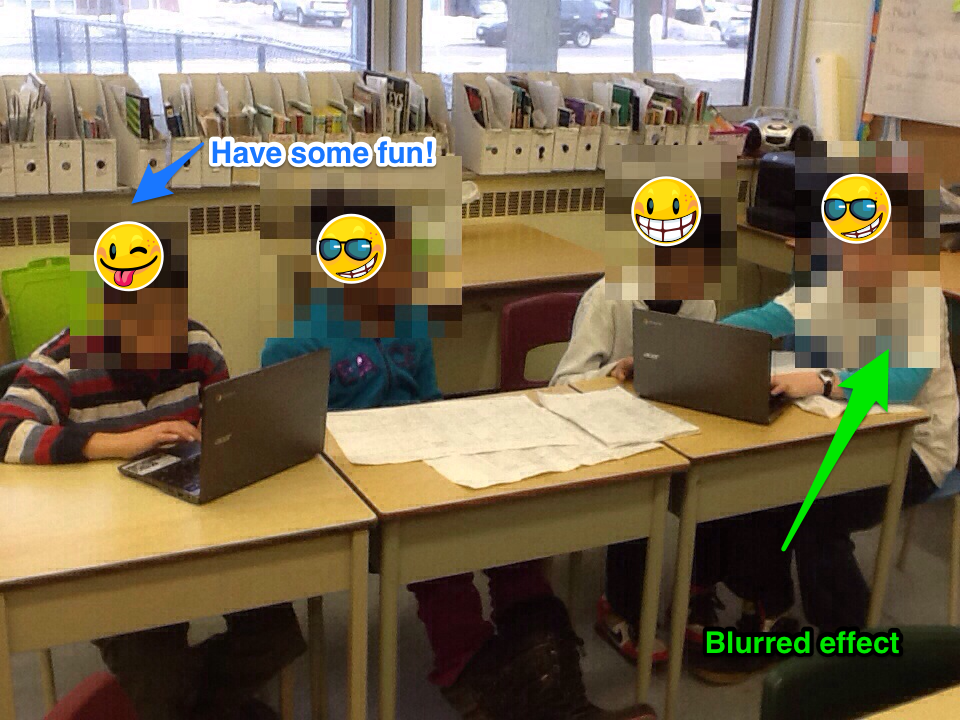
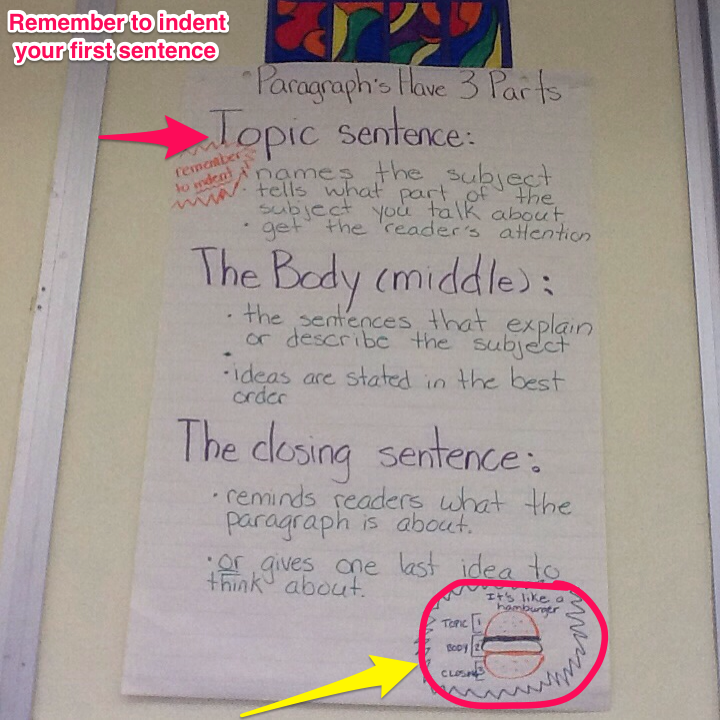
The first of these apps that I came to love last year, was Skitch.  Skitch is an app that allows you to take any photo, screenshot, webpage, or map and draw on it or write on it.  As a teacher the feature I came to love most about Skitch was the ability to blur out sections of a photo.  Although most of my student's parents were okay with them blogging, a few families did not want their child's photo published on the blog.  Skitch allowed me to continue publishing shots of students in my class, while not scrapping the whole photo because one of the students photos could not be posted online.  This year we will teach our student the ins and outs of using Skitch so that when they are composing their blog posts for Recorders of Learning, the student can use the features such as arrows, boxes, writing text, etc. to annotate their photos and highlight the key feature that show the learning the are reflecting on.  
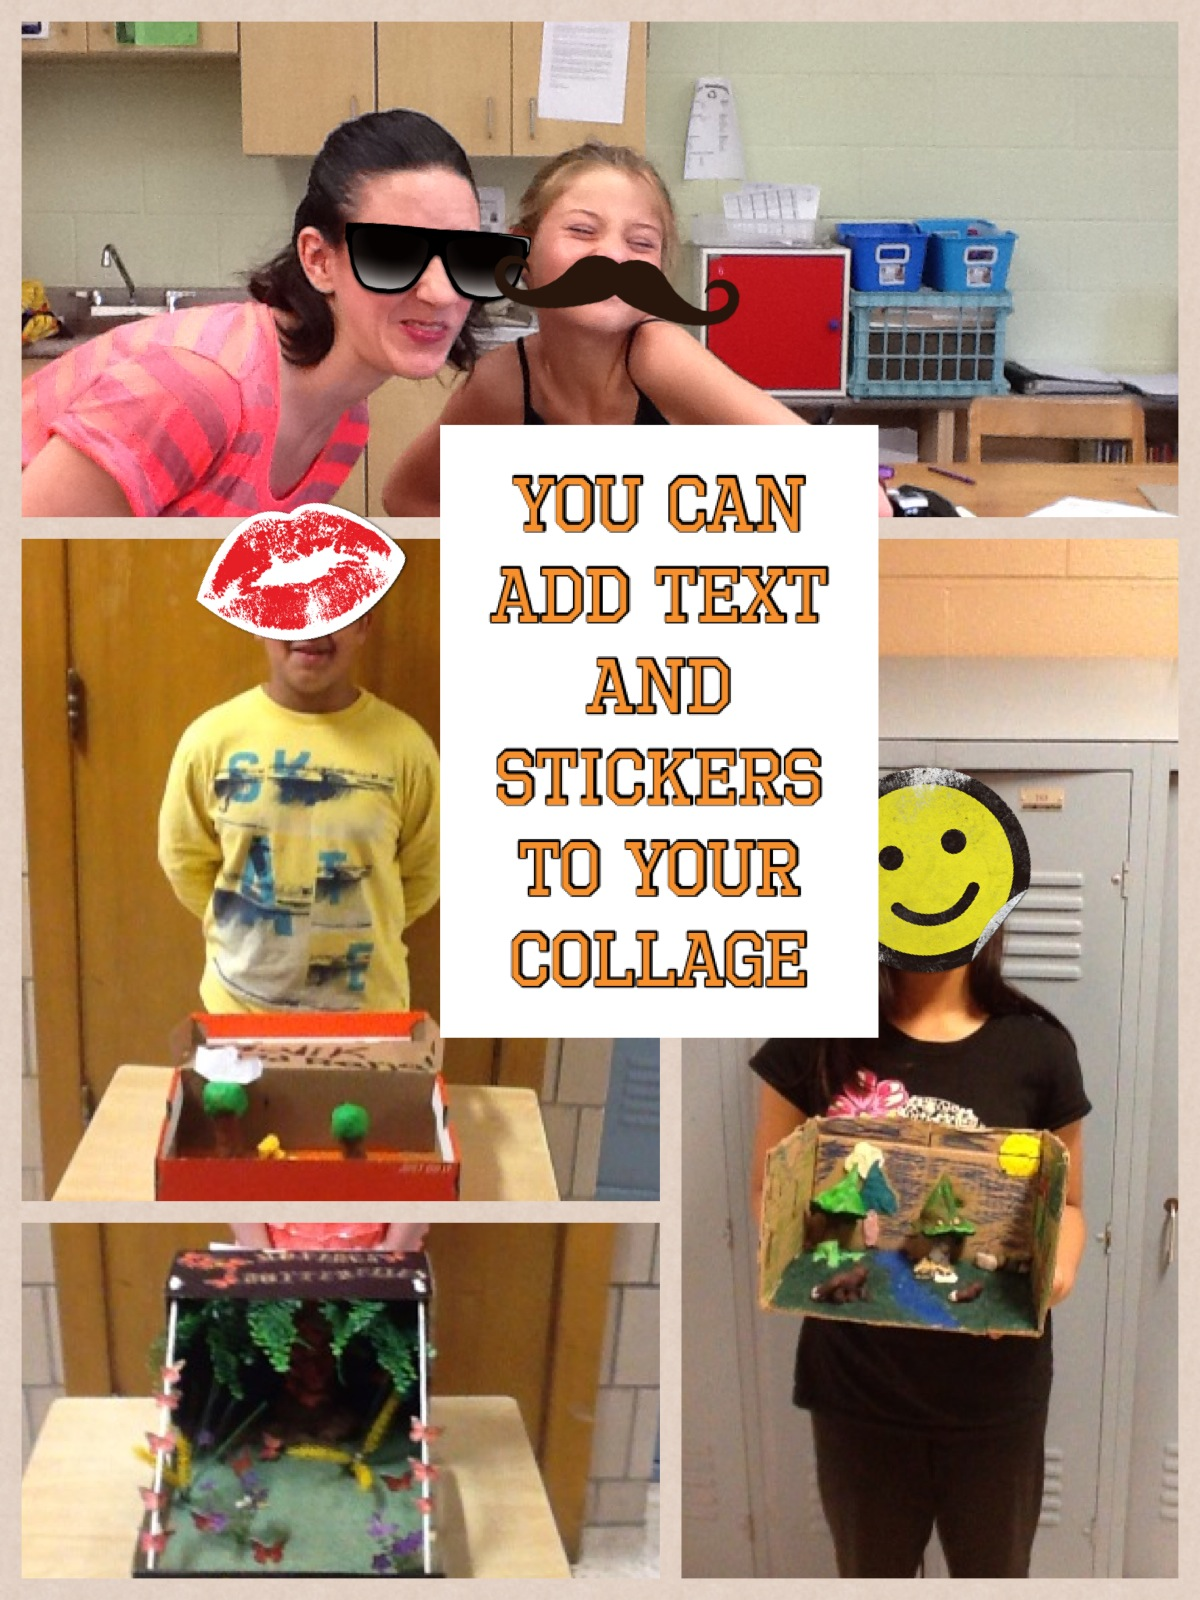
In addition to Skitch, we are going to introduce Pic Collage app.  Simply put, this is an app that will alow the students to take multiple photos and group them into a collage.  Pic Collage allows you to add text over the images and has some fun stickers the students can play around with.  It does not offer not offer the blurring or arrows that Skitch does, so we often use them in tandem. 


The third photo app that we are exploring is Snapseed.  Snapseed is new to both of us and we'll have to see if it's worth the time teaching this tool in addition to Skitch and Pic Collage.  My concern is that students might spend too much time playing with their photos and not enough time completing the task.  Snapseed allows you to play with effects on a photo, adjusting things like brightness, contrast, blur strength, etc.  You can also change the look of your photo through special effects tools like red-eye reduction, cropping, and straightening.  I like all of the options for this app, but even I got caught up in playing around with the different looks I could achieve. It may be distracting for some of our students.   

Either way, each of these photo editing apps is sure to engage our students this year.  It's also a great learning experience to add to our blog lessons because blogs without images are boring!

Chantelle and I wondering if you have any other Ipad apps that are easy to use (kid friendly) and useful for classroom blogging?

17/07/2014

Voice Thread - Create - Share - Assess


Click for source of photo.
This past year, while I was taking Integration of Technology Part 1, I discovered a great new tool - Voice Thread.  In general, when I explore a new web tool I follow inquiry process.   My overall question when I begin to learn  about the tool is how can I apply this in the classroom?  My learning then goes as follows:  read an overview of the tool, explore the tool, become frustrated because the tool is not doing what I expect it to do, find someone who knows about the tool and ask questions.  As I explored Voice Thread, or VT, last year I decided to try and use it with my class as a diagnostic tool.  I created a VT for my class and shared it.  Then my frustration began.  First, my class could not find it, then I received an e-mail from a teacher asking if I shared something with her.  She told me that she was exploring with VT as well and shared and let me know that I had shared the video within the board.  I realized that I needed to find someone who could share the basics of VT.

After learning the basics about VT, here I am ready to reboot for the following year.  My teaching partner, Chantelle Davies and I are planning to use VT as a class tool.  One idea we have discussed is for a couple of students to be recorders of the week’s learning.  As VT allows creators to use images, videos and text, the idea is for the students to capture key learning ideas of the week and share it with the class.  With this single idea, students can create, share and be assessed.

The nice thing about VT is that it addresses a variety of learning styles and can be used to capture students knowledge in a creative way.  VT allows the user to read text and see images (Visual Learner), listen to comments (Auditory Learner) and engages students through the use of technology (Kinesthetic Learner).  It allows struggling writers the opportunity to share their knowledge orally.  This allows students a differentiated way of sharing their knowledge.  Think of the success and confidence a student might show if they were given this tool as opposed to a pencil and paper when given a reading response question.  

As students use this tool to share their knowledge comments can be created by peers and teachers.  As stated in previous blogs, comments should lead to new learning or should lead to questions.  VT leads to open dialogue and the opportunity to observe other student work.  This makes each student more accountable and leads to deeper understanding of content.  A student can post work that is not complete and ask for feedback or comments that may improve the work.  As comments are added it is easy for those with access to see if the student uses the feedback and makes changes to the work as they continue with the task.  

If the tool is used for open dialogue and the tool is used to record learning then it becomes easy for the teacher to see the learning that has occurred over time.  As VT has the ability to allow others to comment, a teacher can give feedback as the student creates new VTs. We know that many times students either ignore written comments or need clarification because they are unable to read my writing.  VT offers a more personal approach by allowing the teacher to video oneself while giving a comment/feedback.   A more personal connection is made if a student is able to hear the audio or see the teacher.  Over time, a learning portfolio can be created as the student adds new work and builds upon comments and feedback.  Students can also comment individually about the growth they had in their learning and make suggestions of next steps for themselves.  As the student records thoughts and reflections the teacher can observe the growth and also comment on strengths and needs.  

So where does this leave us in our inquiry process?  We are back to reading more about the tool before we dive back into trying to create a VT.  In our recent readings we have found a few links with some interesting ideas of how to use VT in the class. The first link is to the blog Teaching Without Walls by Michelle Pacansky-Brock.  The blog post gives the basics about VT and offers video tutorials. The second link is to NED’S KEEPER by Lea Anne Daughtry.  This blog post offers a list of suggestions of how to use VT in the classroom.  

Chantelle and I would be interested to hear your experiences with VT.  What creative way have you used it the classroom?